

Installation Help
Installation Help
A cleaner setup starts before the first cable is routed. Use this guide to plan placement, connections and final checks for RoadCircuit automotive electronics with less guesswork.

Before installation
Start with the vehicle, not the device.
Vehicle layouts, power connections and mounting surfaces vary. Confirm the product is suitable for your vehicle and review the product instructions before removing trim, routing wiring or making a permanent connection.
Different technology. The same careful approach.
Placement, cable routing and connection requirements change from one vehicle upgrade to another. These principles cover the most common RoadCircuit setups.

Dash cams & driving cameras
Choose a position with a clear road view without obstructing the driver's field of vision. Route power cables neatly around interior trim while keeping them away from controls and airbag areas.
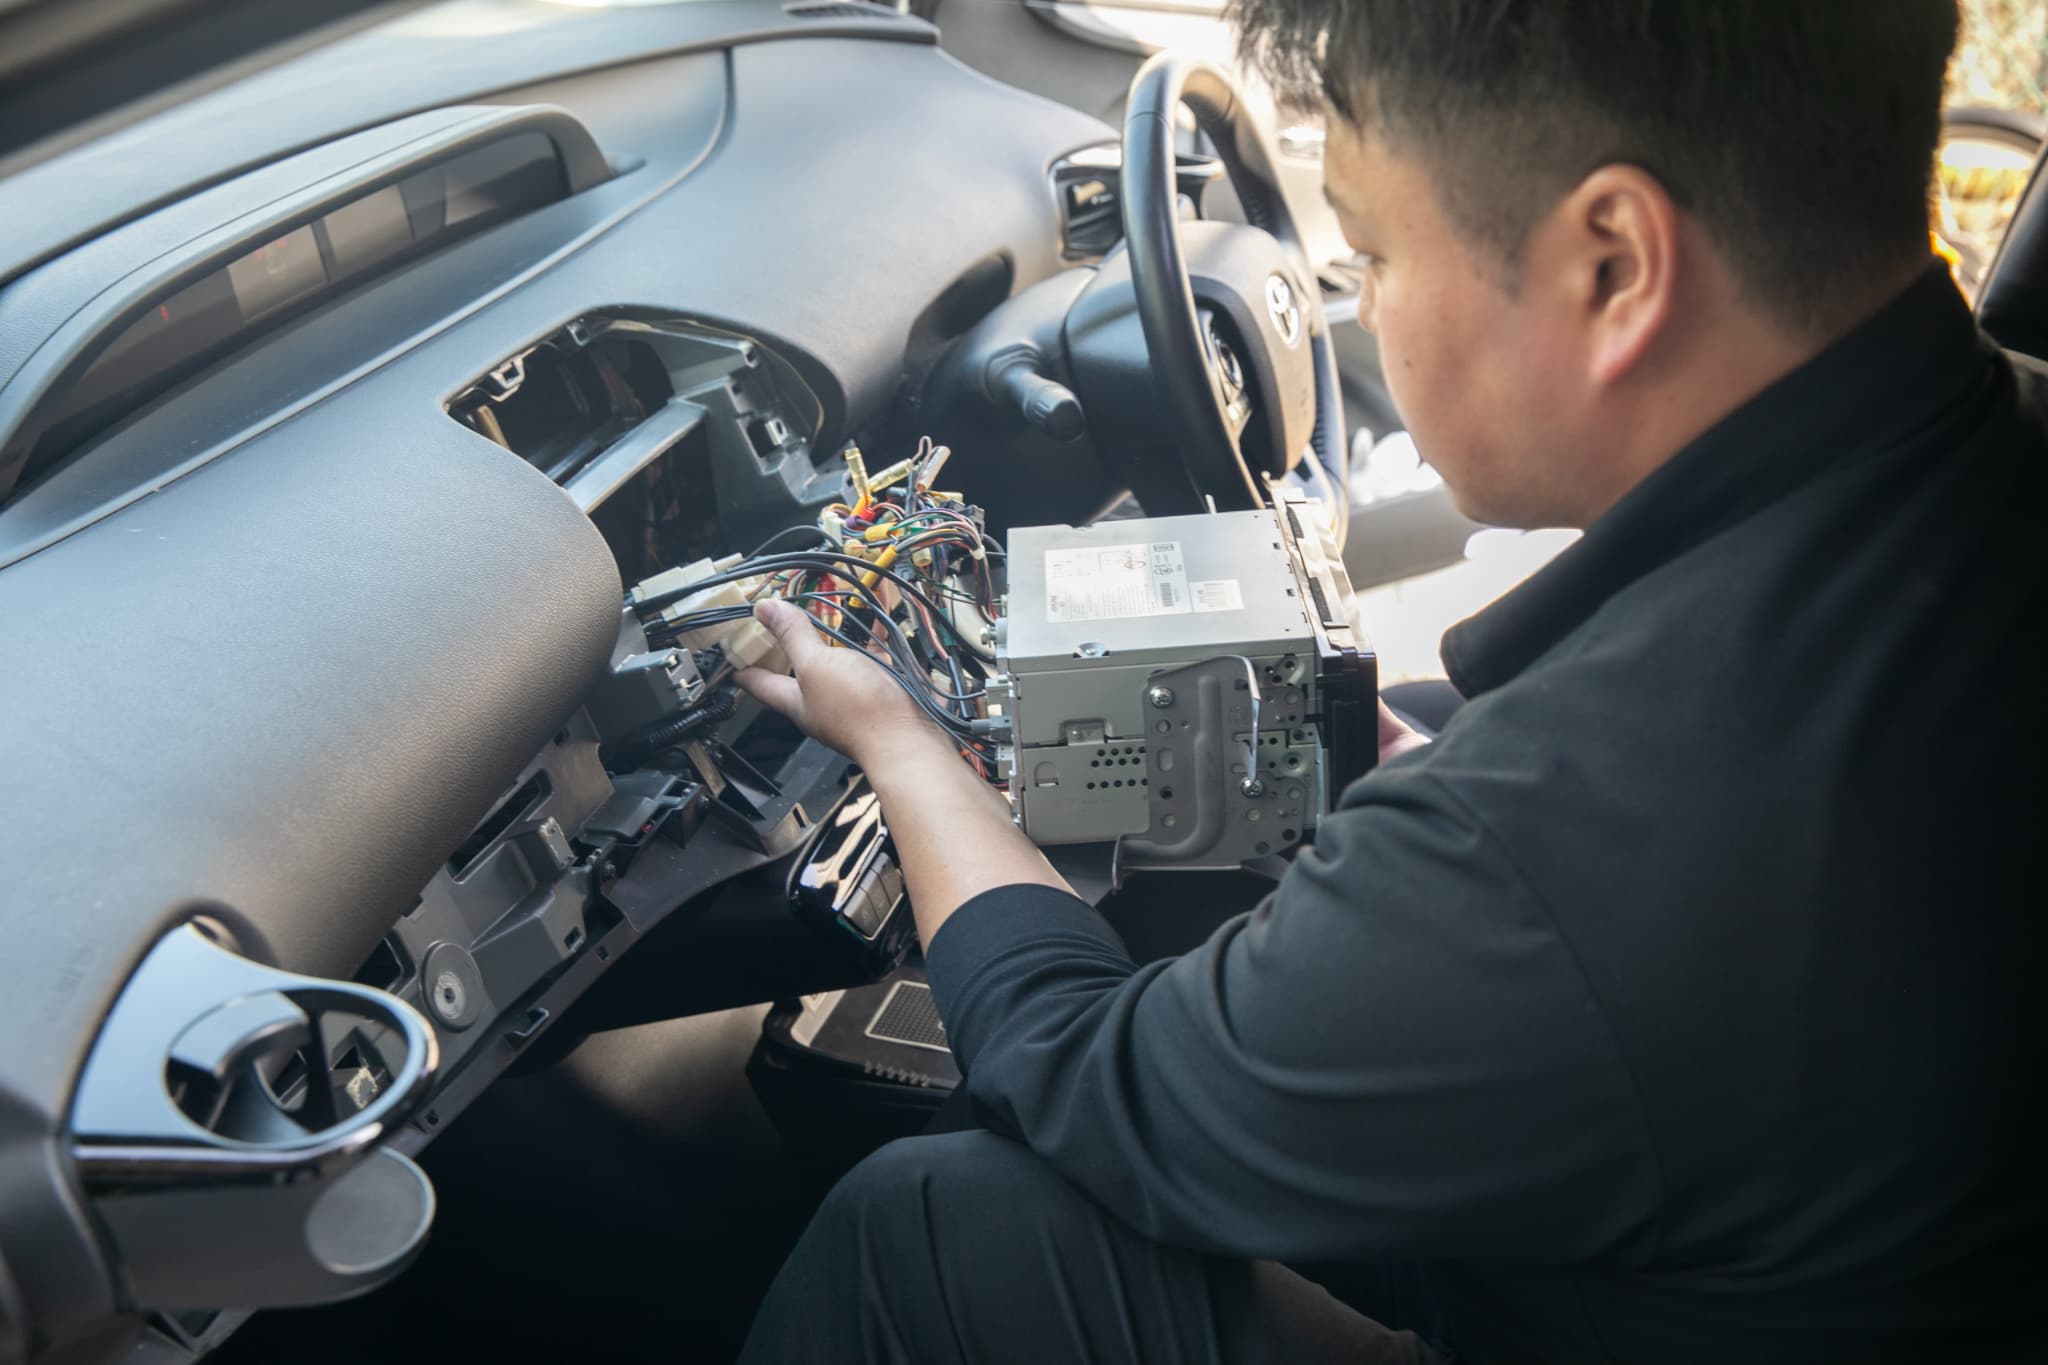
CarPlay & in-dash displays
Confirm connectors and available dashboard space before installation. Keep wiring supported without sharp bends or tension, then verify that surrounding buttons, vents and vehicle controls remain unobstructed.

Charging & connected devices
Use only the power source and connection method specified for the product. Position cables so they do not interfere with shifting, steering, pedals, seat movement or normal entry and exit.
Four checks from setup to first drive.
Use the product manual as the primary installation reference. This sequence helps organize the process around fit, placement and a final functional check.
Dry-fit the device
Test the proposed position before using adhesive, fasteners or permanent cable routing. Confirm that the screen, camera or accessory can be reached or viewed as intended.
Plan the connection
Identify the correct power and signal connections described by the product instructions. Avoid forcing connectors or making assumptions about unfamiliar vehicle wiring.
Secure the route
Keep cables supported and clear of sharp edges, moving parts, pedals, steering components and designated airbag areas. Refit trim without pinching wiring.
Verify before driving
Power on the device and confirm normal operation while the vehicle is safely parked. Check mounting stability, cable clearance and the operation of nearby vehicle controls.
Know when to stop and ask for help.
A simple mounted accessory and a hardwired vehicle-electronics installation are not the same job. If the installation requires unfamiliar wiring, fuse access, substantial trim removal or work near safety systems, consider professional installation.
Installation, clarified.
Product-specific requirements should always be confirmed in the instructions supplied with the device.
How do I know whether a product fits my vehicle?
Can I install a dash cam without visible cables?
When should I use a professional installer?
What information should I send RoadCircuit for help?
Still unsure about the install?
Send us the product name and your vehicle details before making a connection you are uncertain about. We can help you identify the information you should confirm before continuing.